On Black Friday 2024, I got myself a Kobo Libra Colour ereader to replace my old Kindle Touch from 2011. This was in part a desire to de-Bezos my life as much as possible, and in part a desire to get some quality of life features (USB-C! A backlight! Color!!).
I mostly use the stock Kobo software setup, but I have made a few modifications over the past couple of years, which I want to go through now.
Custom menu
NickelMenu is a very popular mod that lets you add custom menus to various parts of the Kobo’s interface. Here is a screenshot of my home page with the menu active:
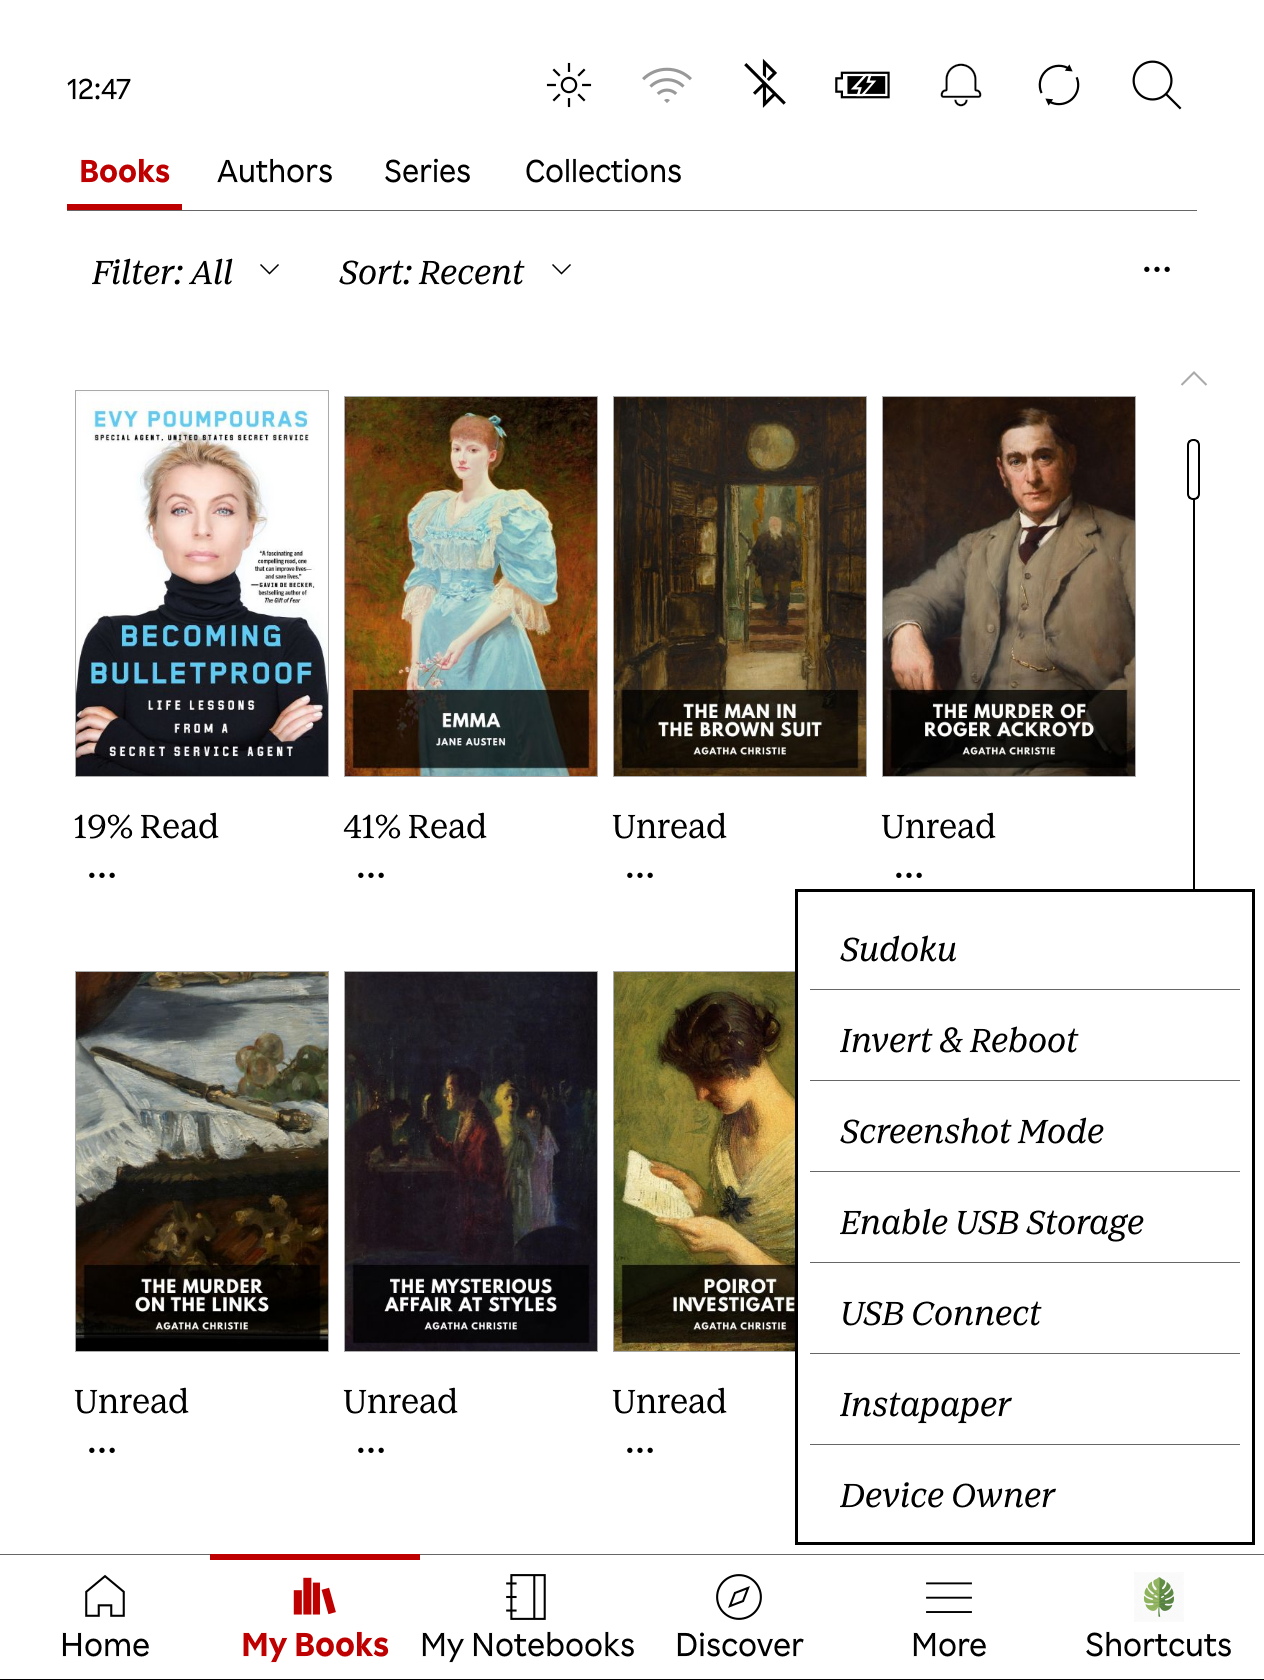
You can see that I have a Shortcuts button; tapping on that brings up the menu. NickelMenu allows you to specify custom menus on the home/main page (as shown), the book list view, when reading (both on the menu view and when selecting text), and when using the browser.
After some tinkering, I’ve settled on the following config:
All options are laid out in the NickelMenu documentation, but in short, each menu_item line has (typically) five parts, separated by a colon:
- Type (
menu_item) - Where the menu item is located
- main
- library
- reader
- browser
- selection
- selection_search (the Search submenu when highlighting something)
- Label of the item in the menu
- Action
- Arguments
An experimental item has three arguments:
- Type (
experimental) - Option name
- Option value
We can also have types of chain_success, chain_failure, chain_always, and generator, but I don’t have any menu items that use those. I’ve seen examples of people using the chain commands to toggle on/off a screensaver if that interests you.
Most of the items in my config are self-explanatory, but the usage of some of them might require a bit of explanation.
Sudoku???
Yep!
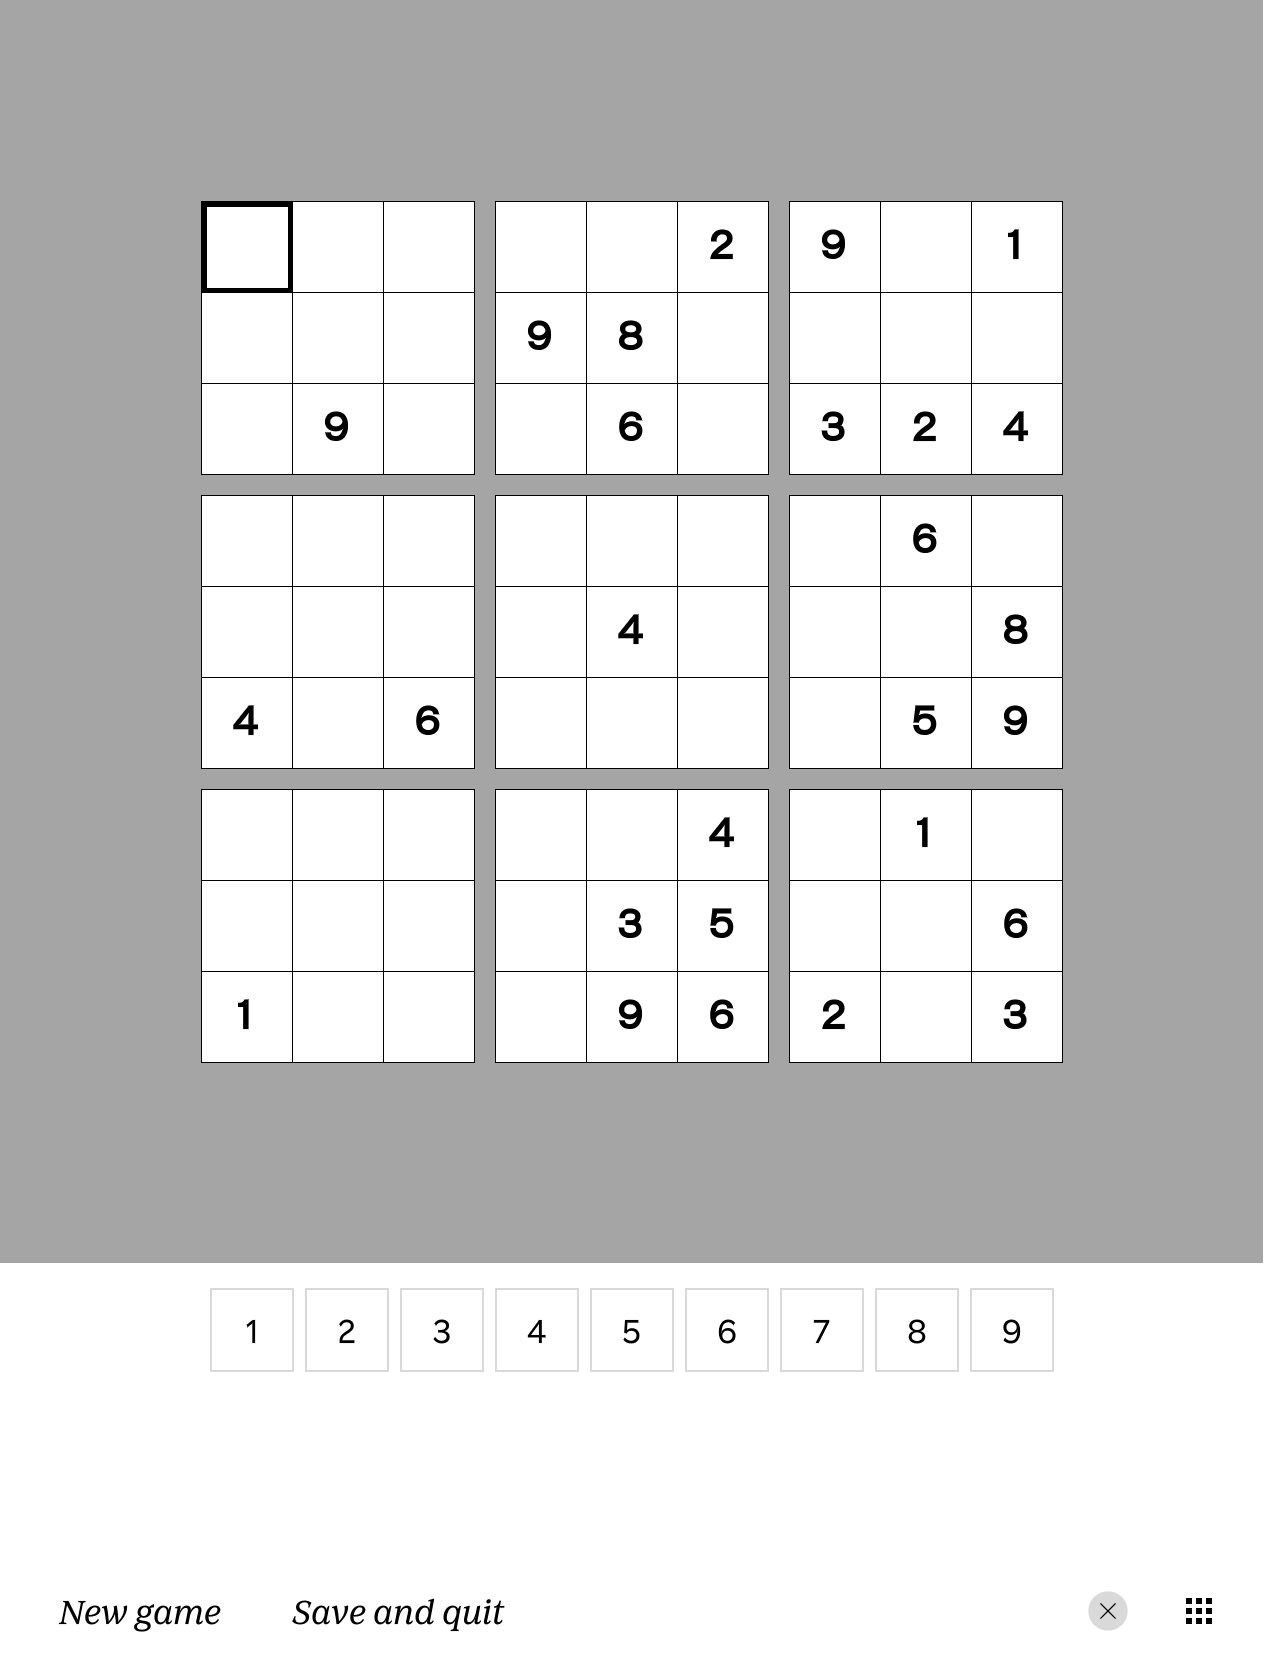
That’s right
Solitaire, a word scrambling game, unblock it, and a sketchpad can also be unlocked this way. They used to be available through the beta menu, but were removed (but obviously not entirely).
Screenshots
The setting in my menu enables a mode where the power button can be used to take screenshots (which was used for this blog post).
menu_item : main/library : Screenshot Mode : nickel_setting : toggle : screenshots
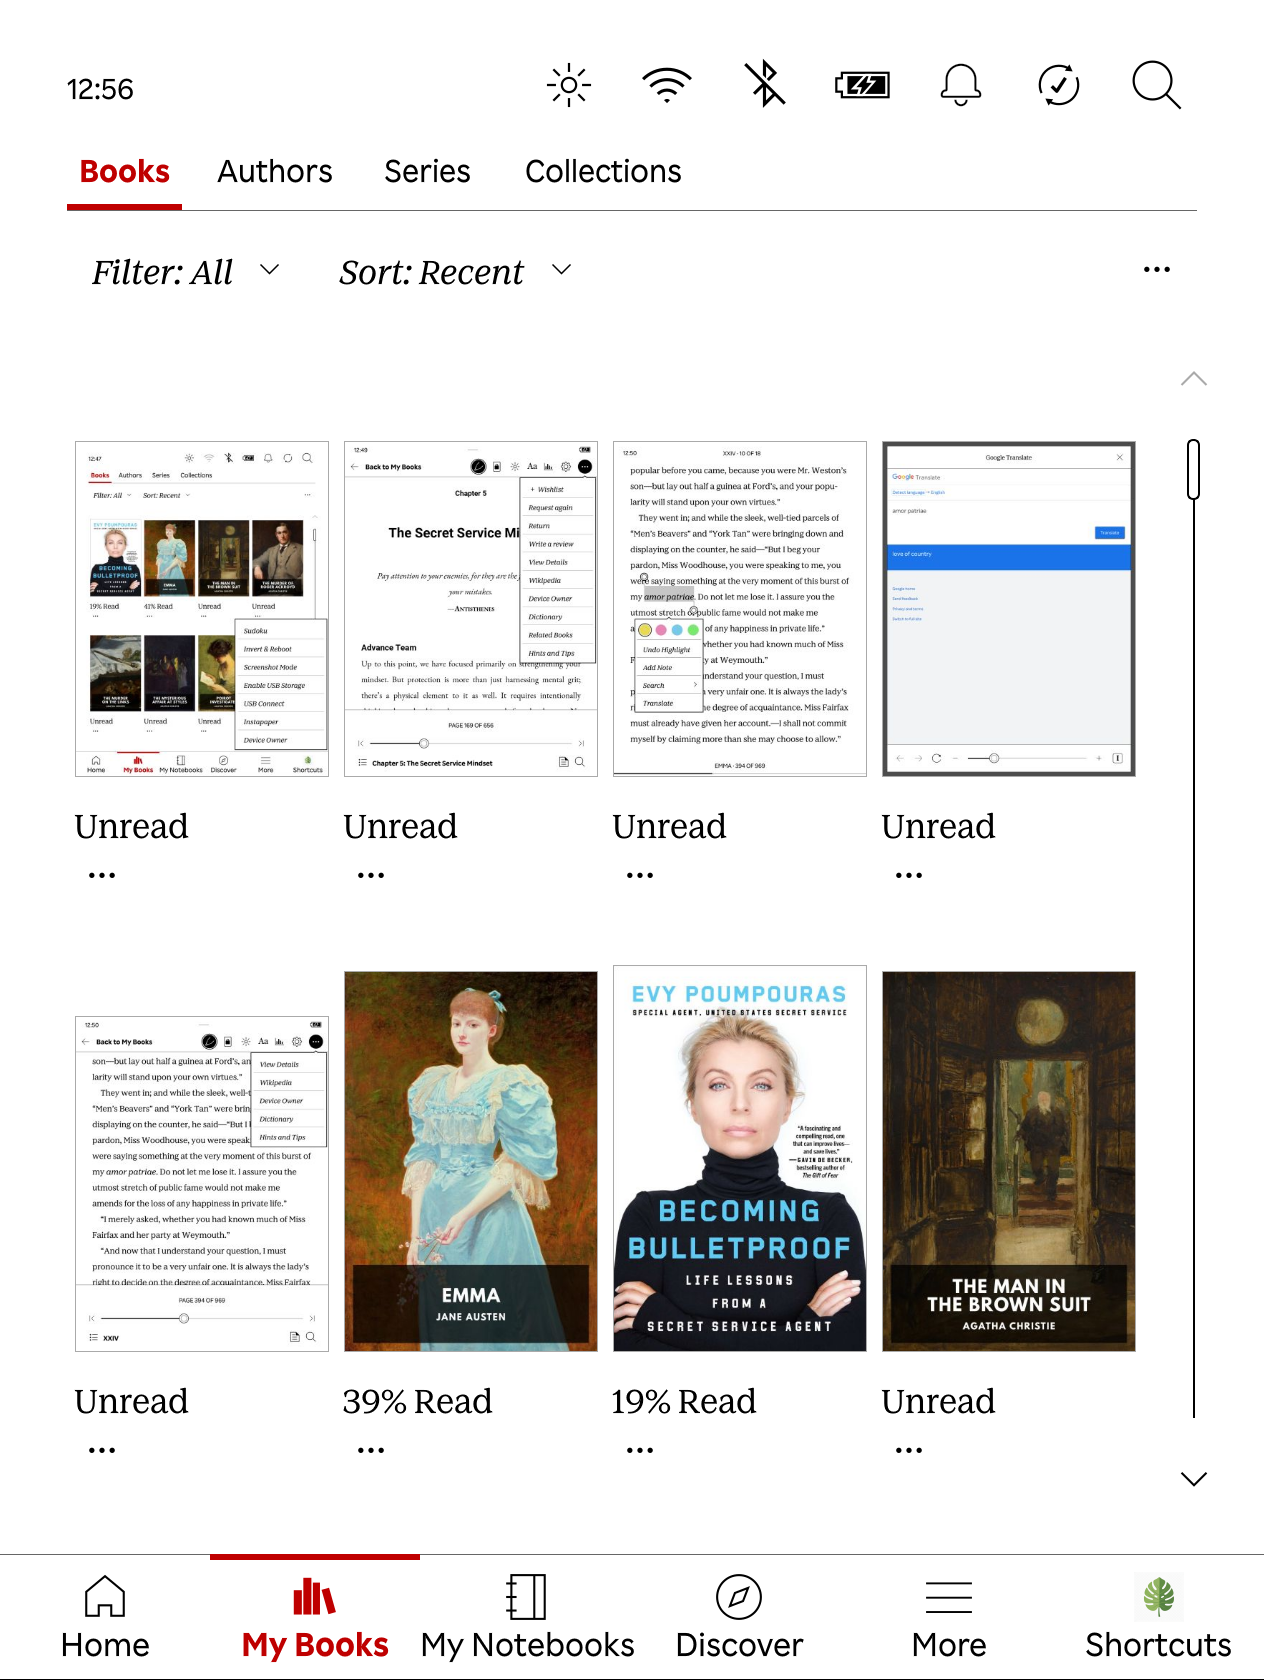
You can see all of the screenshots on the book list if they remain on the device
Each screenshot is dumped into the root directory of your Kobo as PNGs. If you leave the screenshots on your device, they’ll appear as “books” (see above).
If your Kobo goes to sleep while the screenshot mode is enabled, you can’t use the power button to wake it up. To get around this, you can plug it into your computer again or hold down the power button to completely turn it off and hold the power button again to turn it on. Closing and then opening a magnetic sleep cover would also work if you have one.
USB connection
I have two USB connection toggles:
menu_item : library : Enable USB Storage : nickel_setting : enable : auto_usb_gadget
menu_item : library : USB Connect : nickel_misc : force_usb_connection
Enable USB Storage enables the use of the Kobo as USB mass storage. I don’t usually toggle this, but it makes me feel better to keep it around.
USB Connect forces the dialog box to connect the Kobo to my computer (as opposed to just using the cable for charging). This is most useful when I’ve ejected the eReader and want to reconnect without unplugging my device. I mostly use this when I need to update library metadata with Calibre.
“Device Owner” message
The “Device Owner” menu item displays contact info, in case I lose my Kobo.
menu_item : library : Device Owner : dbg_msg : If you have found this eReader, please contact:<br /><table><tr><td>Phone</td><td> </td><td>123-456-7890</td></tr><tr><td>Email</td><td> </td><td>myemail@example.com</td></tr></table>
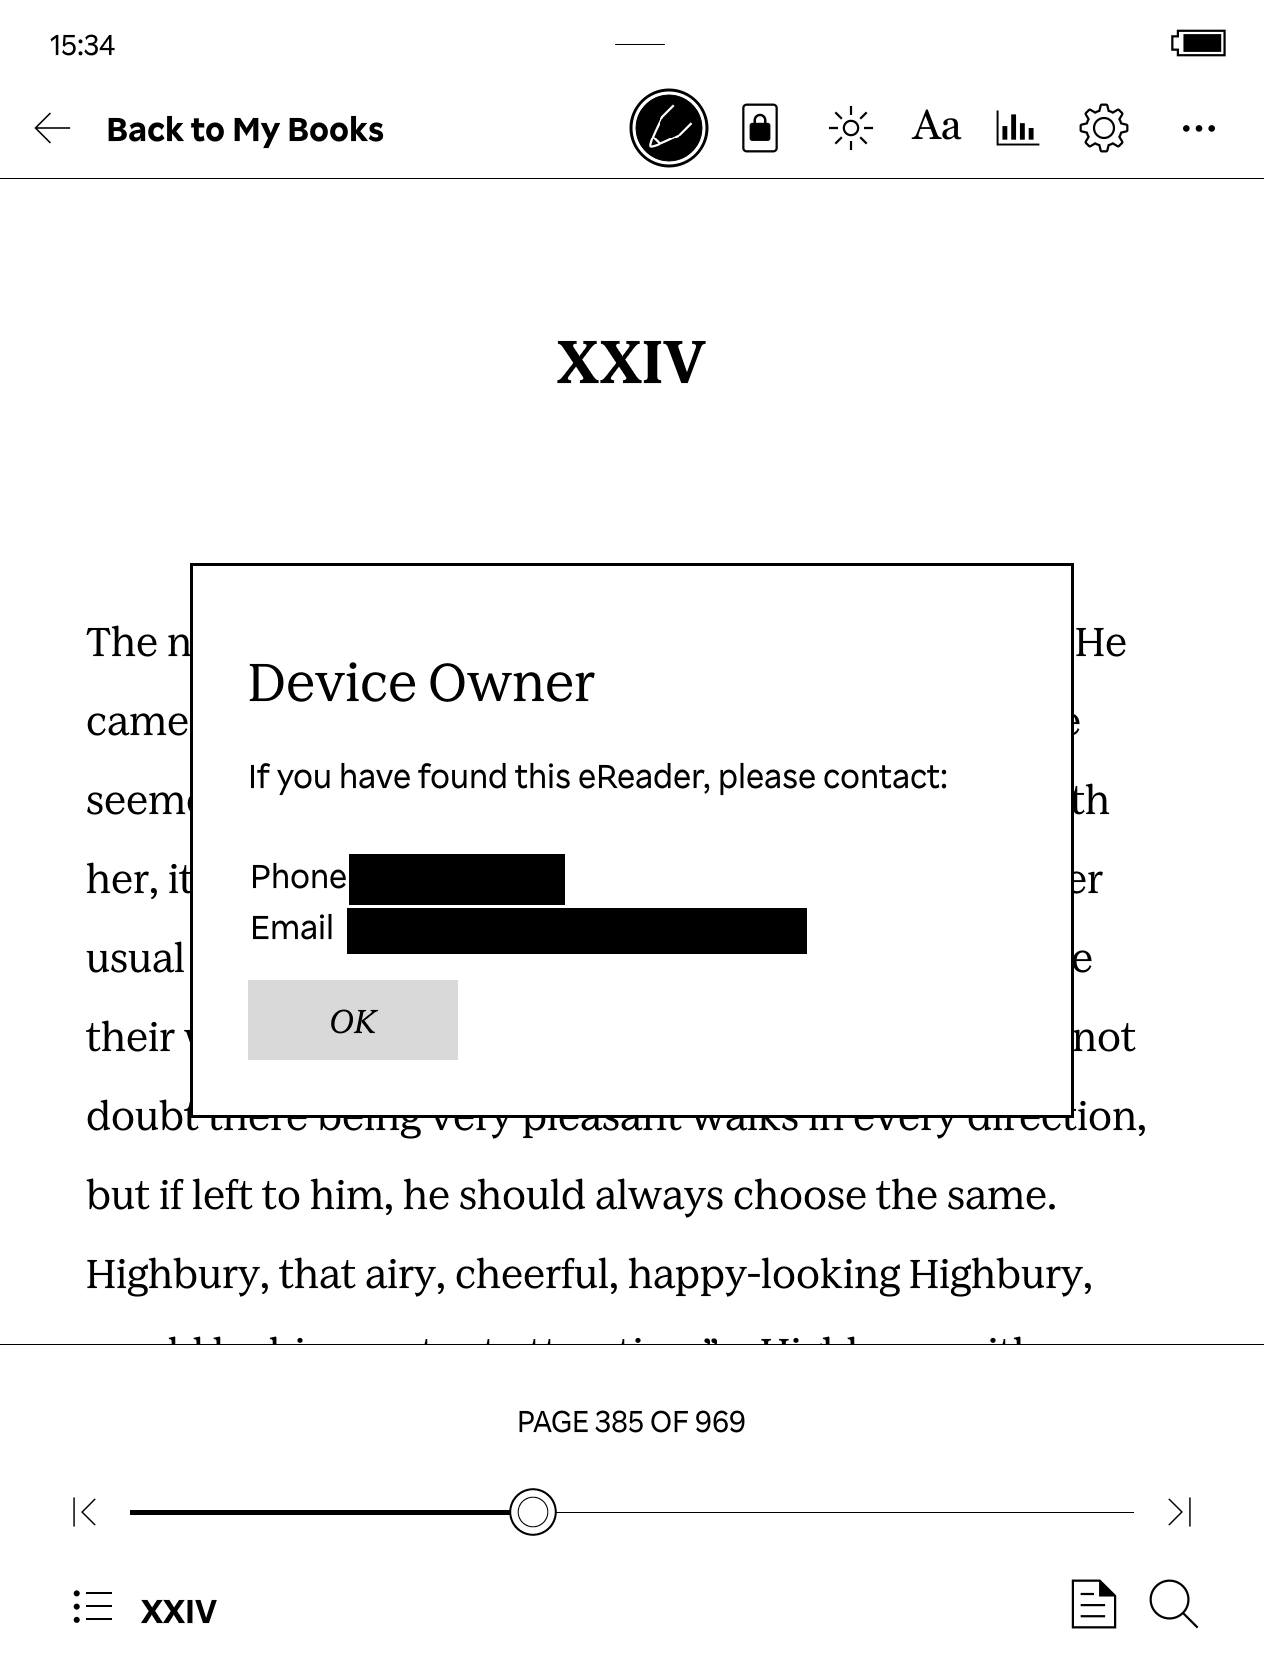
Tapping ‘Device Owner’ shows this modal
For clarity, the phone number and email address are a table:
| |
The table cells with white space are there so that Phone and Email don’t run into the actual values. I could’ve done some basic styling, but this was quicker.
Translation
This is my most used customization—I can select text that I want translated and send it to Google Translate.
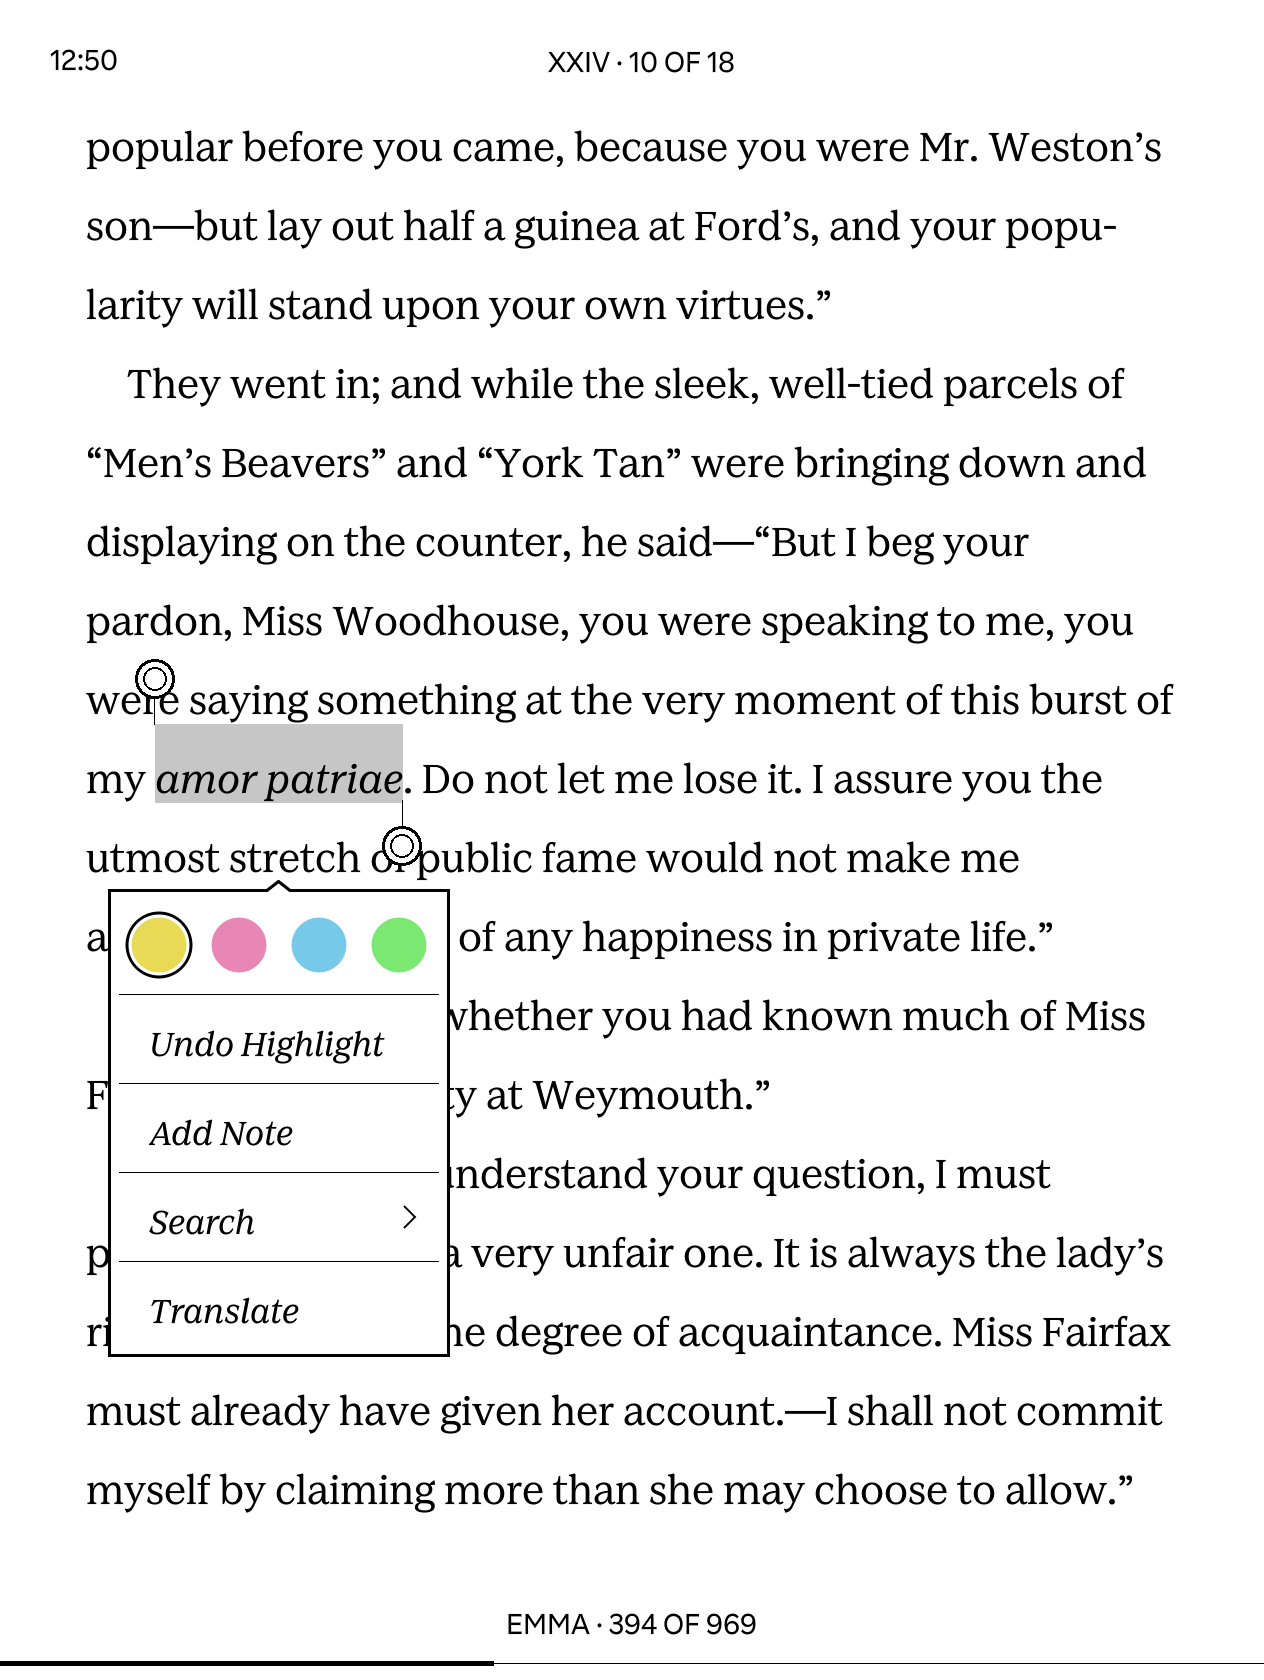
The ‘Translate’ option is what was added by NickelMenu
The “Translate” option is what I added, and that brings up a modal showing Google Translate:
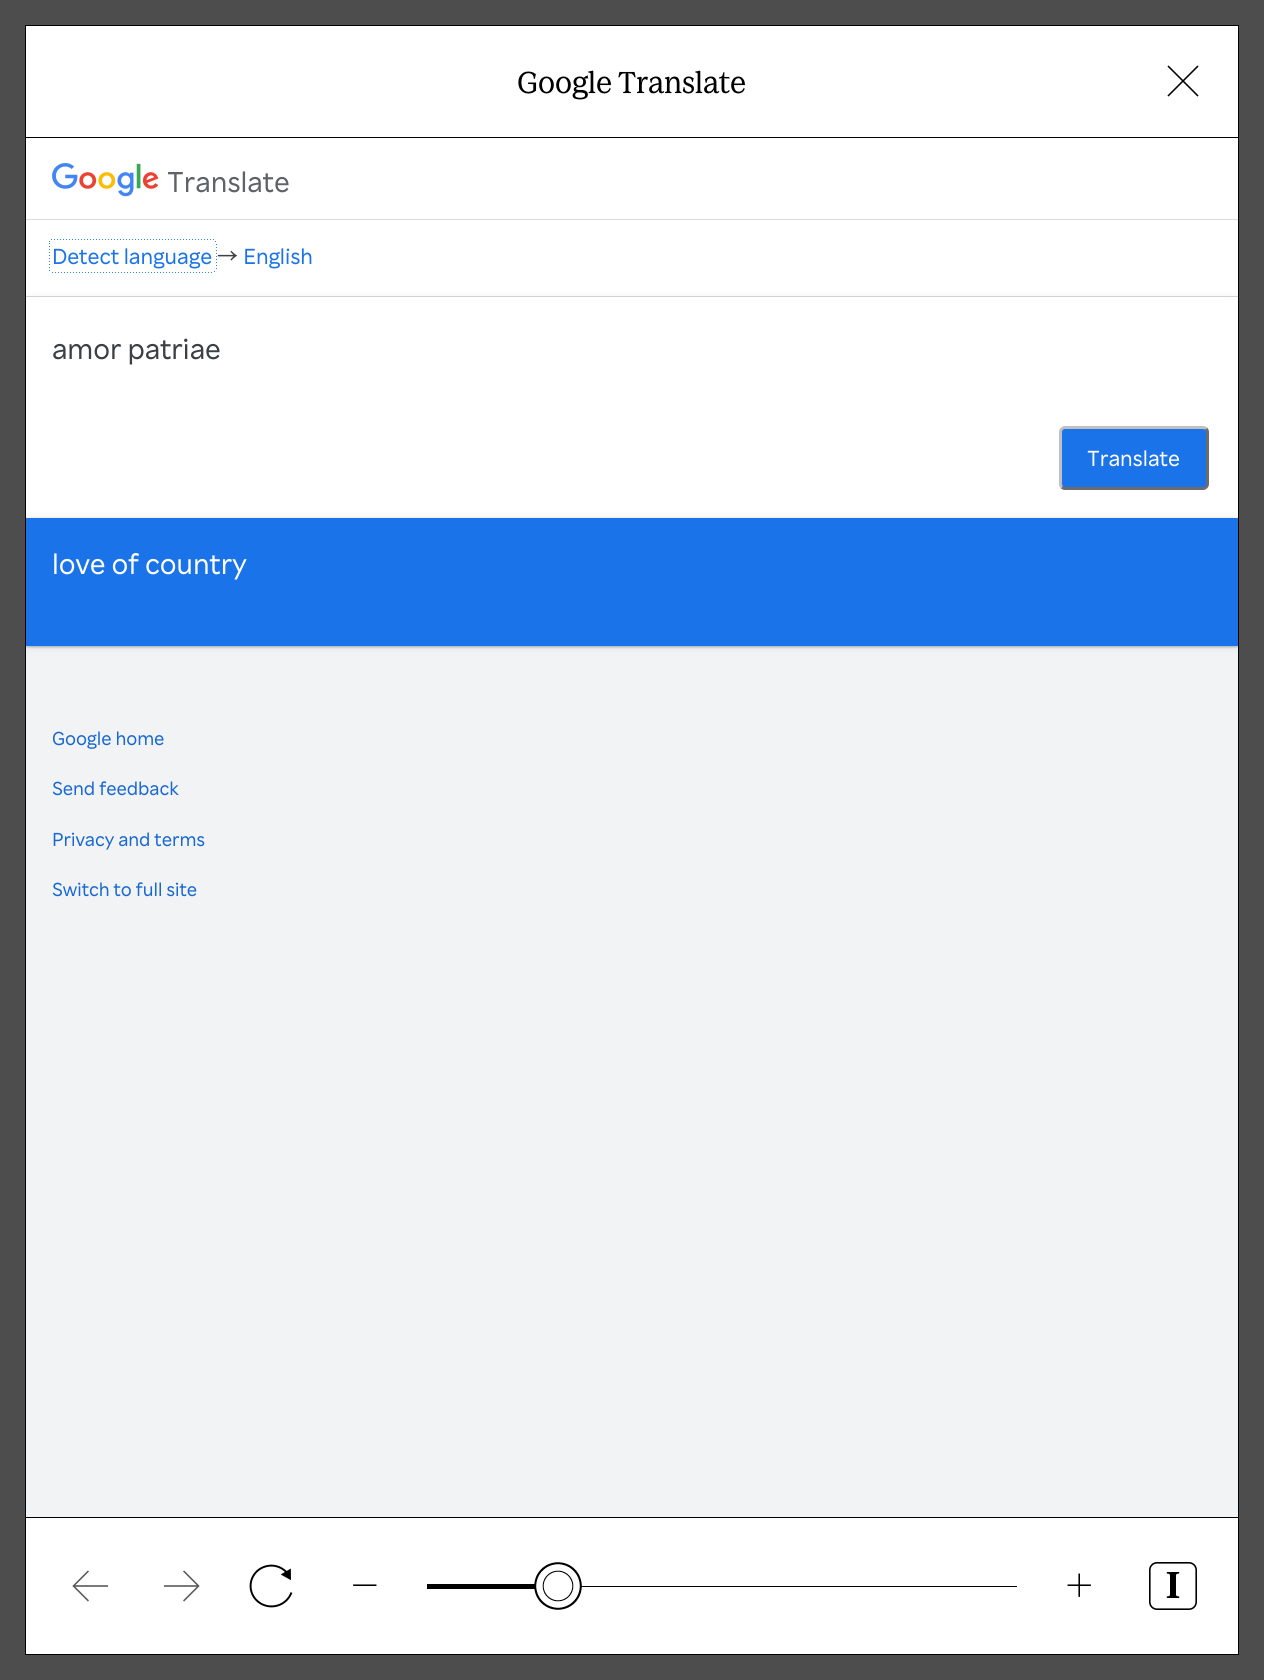
menu_item : selection : Translate : nickel_browser : modal : https://translate.google.com/m?sl=auto&tl=en&q={1||%}
The URL for the modal goes from any language (that Google can detect) to English. The selection is sent as 1 and URL-encoded with %.
Shortcuts button customization
By default, NickelMenu uses a hamburger icon (the exact same one as the “More” default menu) and shows the shortcuts menu text as “NickelMenu”. I wasn’t a fan of this, but it’s very easy to customize:
experimental : menu_main_15505_label : Shortcuts
experimental : menu_main_15505_icon : /mnt/onboard/.adds/nm/.menuicon.png
experimental : menu_main_15505_icon_active : /mnt/onboard/.adds/nm/.menuicon.png
The location if navigating through the Kobo directly is /.adds/nm/*.
Icons must be a 512 x 512 pixel PNG. The period/full stop before the filename is needed (both in the config and in the actual filename).
See the time (and battery level) while reading
NickelClock is a mod that lets you see the clock while reading (as opposed to just while on the main pages).
In /.adds/nickelclock/settings.ini, I have:
 1[General]
 2Debug=false
 3Margin=50
 4
 5[Battery]
 6BatteryType=Icon
 7Enabled=false
 8LevelTemplate=%1%
 9Placement=Header
10Position=Right
11
12[Clock]
13Enabled=true
14Placement=Header
15Position=Left
This puts the clock on the top left, 50 pixels from the left, with no battery icon or percentage. I don’t need more battery-related anxiety in my life 😆
Once in a while, the clock will flash to a black box before updating the time. I haven’t been able to determine why (it’s not on every minute update and doesn’t seem to correlate to time read or position in the book), but you should know that, in case it might bother you.
The margin of 50 is the closest I could get to keeping the in-reader clock in the same position as the clock on the menu pages. Hopefully that saves anyone reading this the experimentation time 😃 You can see the clock in the translation screenshots.
Some helpful Calibre plugins
The two main Kobo-specific Calibre plugins are KoboTouch and KePub Output.
KoboTouch has quite a few features. You can take a gander at the MobileRead thread for the plugin, but the ones I take advantage of the most are updating of metadata and reading progress.
KePubOutput doesn’t require any modification. It transforms epub files to kepub. While the Kobo can read epubs out-of-the-box, its epub reader is older, while kepubs have niceties like estimated reading time.